DIY Solar Shed Power: Build a 24V Off-Grid System with LiFePO4 + MPPT Controller
Transform your backyard shed into a solar-powered workshop using a 24V LiFePO4 battery bank and MPPT controller. This 800-word guide covers component selection, wiring, and cost-saving hacks.
System Design Overview
Components:
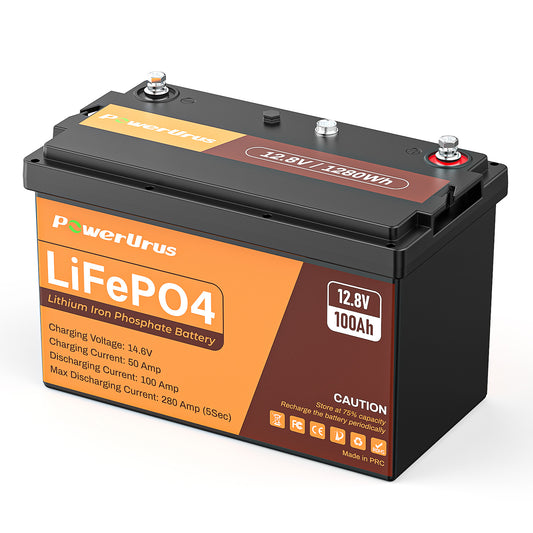
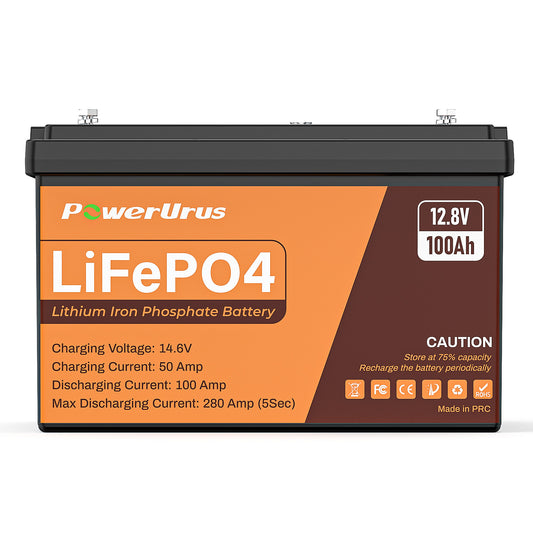
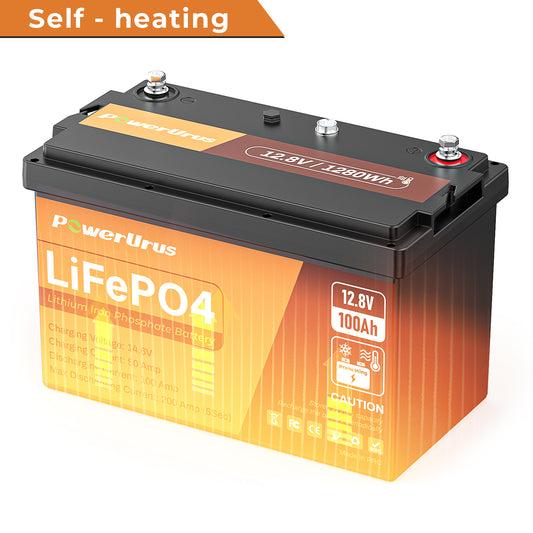
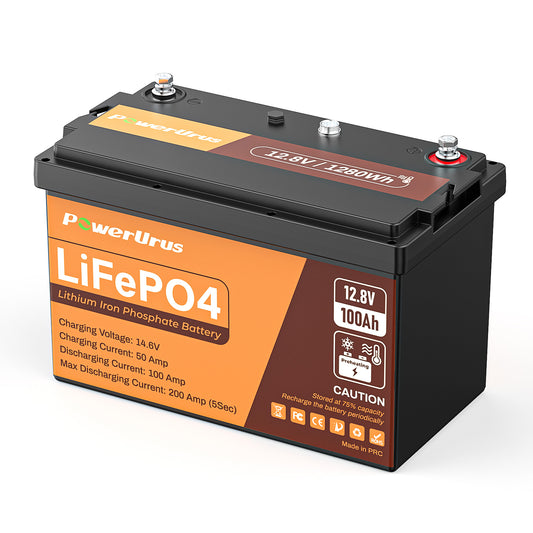
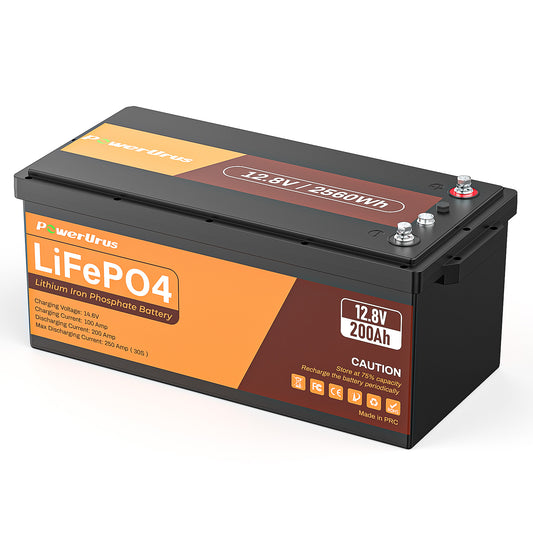
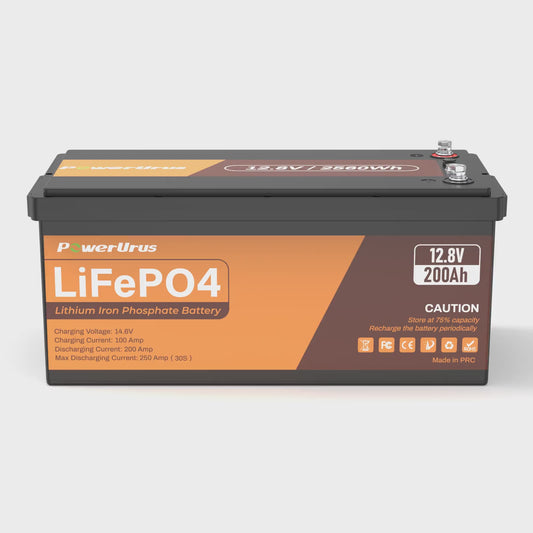
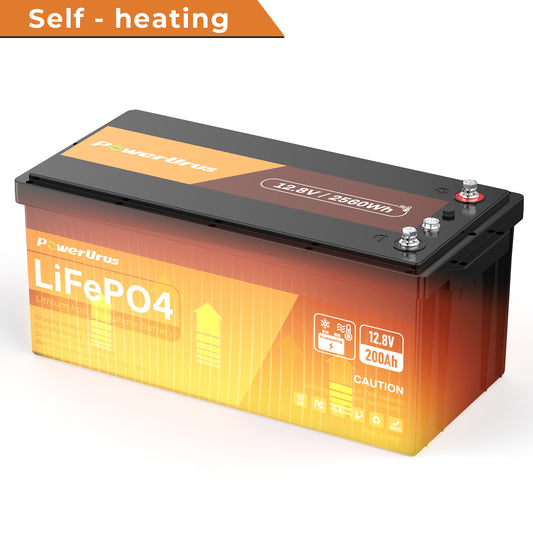
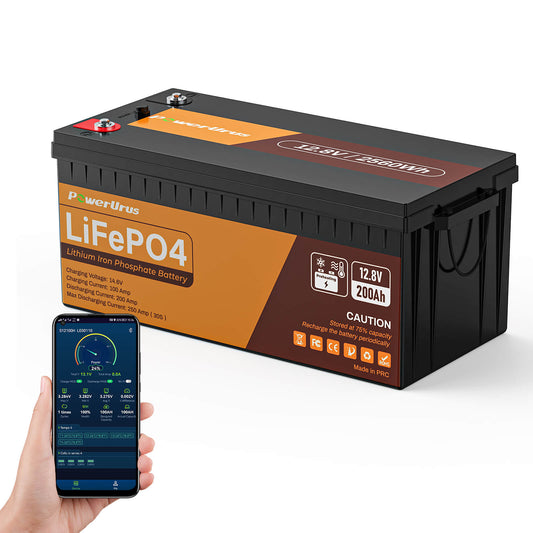
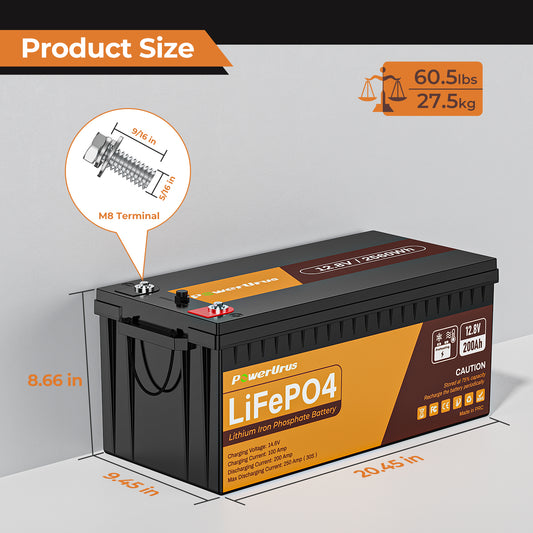
2x 12V 200Ah LiFePO4 batteries(wired in series for 24V).
600W solar panels (2x 300W in series).
40A MPPT charge controller (e.g., Victron SmartSolar).
24V to 12V DC converter for LED lights.
2000W pure sine wave inverter.
Step 1: Load Calculation & Battery Sizing
List Devices:
LED Lights: 12V × 5A × 5h = 300Wh
Power Tools: 1500W × 2h = 3000Wh
Total Daily Usage: 3300Wh
Battery Capacity:
Required = 3300Wh ÷ 24V ÷ 0.8 (DoD) = 172Ah → Choose 24V 200Ah LiFePO4.
Step 2: Solar Panel Configuration
Voltage Matching:
Panel Voc: 40V × 2 in series = 80V (under MPPT’s 150V max).
Current Output:
600W ÷ 24V = 25A → 40A MPPT handles surges.
Step 3: MPPT Optimization
Charge Settings:
Absorption: 28.8V (LiFePO4’s sweet spot for fast charging).
Float: 27.2V (prevents overcharging).
Efficiency Gain: MPPT harvests 30% more energy than PWM in winter.
Step 4: Safety & Maintenance
Fusing: 125A ANL fuse between battery and inverter.
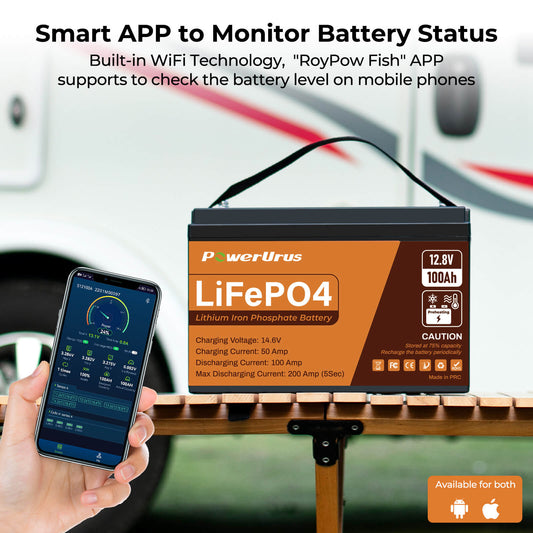
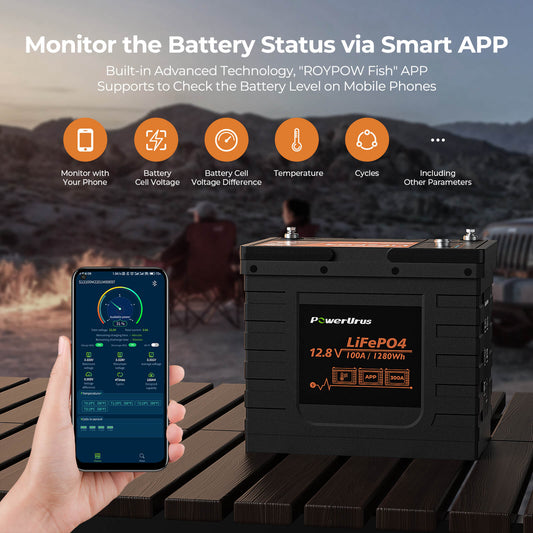
Monitoring: Use Victron’s Bluetooth app to track:
State of Charge (SOC)
Temperature alerts (shuts off at 140°F)
Real-World Example: Texas Workshop
A Houston DIYer built a 24V LiFePO4 system to run:
Table Saw (1800W)
Air Compressor (800W)
Weekend Runtime: 8h on solar + 2h battery backup.
Cost: 2,300(vs.3,800 for lead-acid with same lifespan).

